 Pin
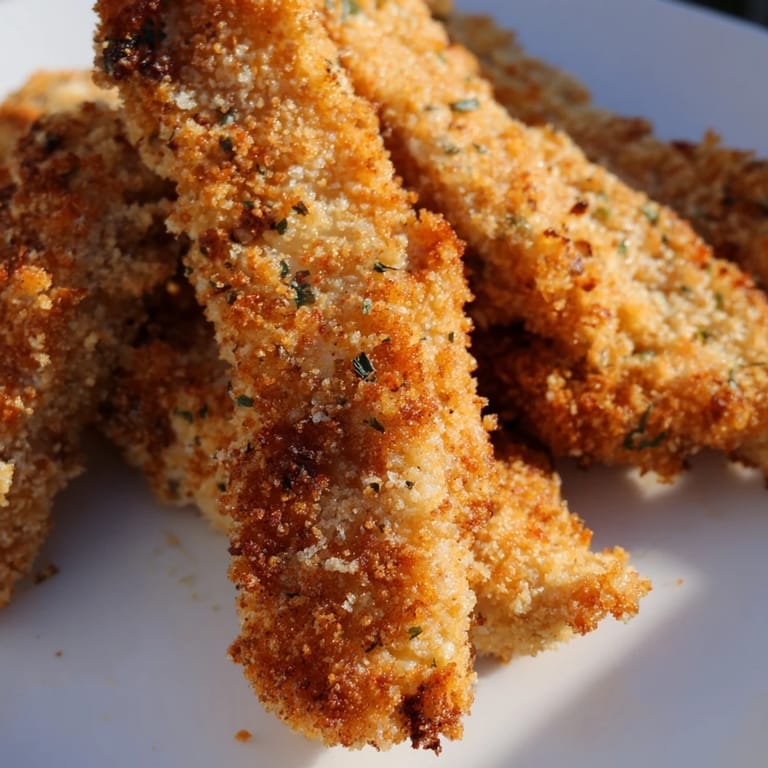
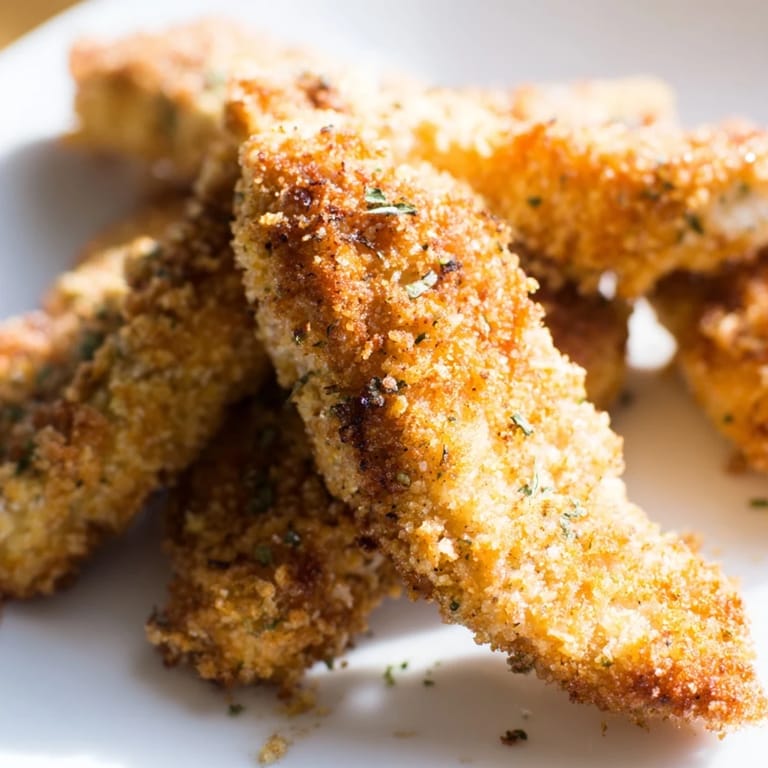
Pin My youngest kept asking why we couldn't have fried chicken on a Tuesday night, and honestly, I didn't have a good answer beyond not wanting to deal with a pot of bubbling oil. So I started tinkering with panko and high heat, and these strips came out so crispy that no one even noticed they were baked. Now they're in our weekly rotation, and I've stopped feeling guilty about weeknight comfort food.
I made these for a casual gathering once, and halfway through dinner someone asked if I'd ordered takeout. That might be the best compliment I've ever gotten in the kitchen. The secret is really just the panko and a hot oven, but I let them think I had some kind of magic touch.
Ingredients
- Boneless, skinless chicken breasts or tenders: I prefer tenders because they're already the right size, but breasts work great if you slice them evenly so everything cooks at the same rate.
- Salt and black pepper: Simple seasoning on the chicken itself makes sure every bite has flavor, even before the breading.
- All-purpose flour: This first layer helps the egg mixture stick, which is the glue that holds the panko in place.
- Eggs: Whisking them with mayonnaise creates a thicker coating that clings better than eggs alone.
- Mayonnaise or Greek yogurt: Adds richness and helps the breading adhere, plus it keeps the chicken moist inside.
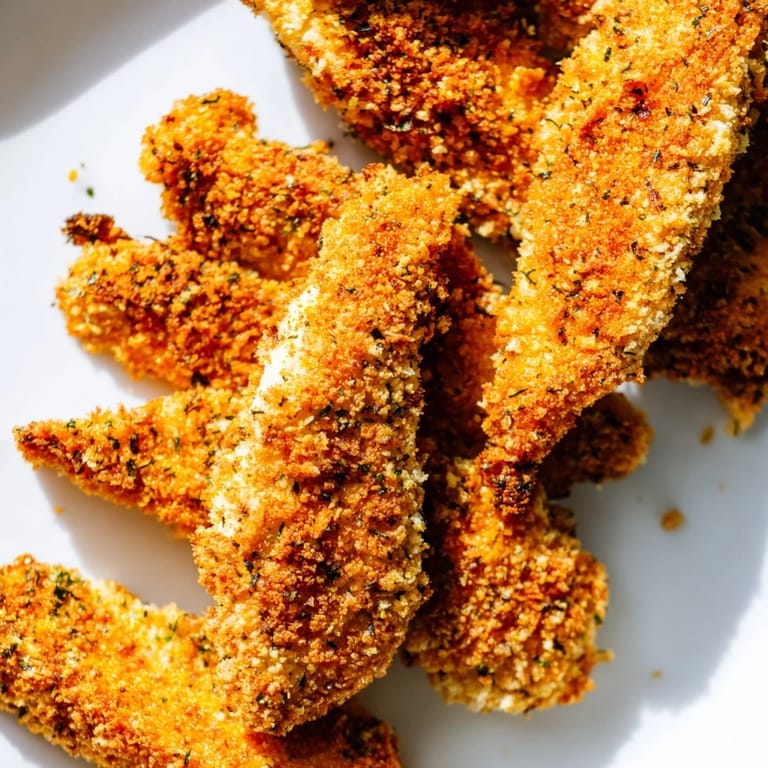
- Panko breadcrumbs: The star of the show, panko stays crispier than regular breadcrumbs because of its larger, airier flakes.
- Dried Italian herbs: A quick flavor boost without needing to measure out individual spices.
- Garlic powder: Brings a savory depth that balances the herbs perfectly.
- Smoked paprika: Adds a subtle warmth and a hint of color that makes the strips look even more appetizing.
- Cayenne pepper: Optional, but a pinch gives just enough heat to keep things interesting.
- Olive oil: A light drizzle before baking is what turns the panko golden and crispy.
Tired of Takeout? 🥡
Get 10 meals you can make faster than delivery arrives. Seriously.
One email. No spam. Unsubscribe anytime.
Instructions
- Prep your oven and pan:
- Preheat to 220°C (425°F) and line a baking sheet with parchment or set a wire rack on top. The rack lets air circulate for extra crispiness, but parchment works beautifully too.
- Cut and season the chicken:
- Pat the chicken completely dry, then slice into strips about 2 cm wide. Season both sides with salt and pepper so the flavor goes all the way through.
- Set up your breading station:
- Use three shallow bowls: flour in the first, whisked eggs and mayonnaise in the second, and panko mixed with all the herbs and spices in the third. This assembly line makes the process fast and tidy.
- Coat each strip:
- Dredge a strip in flour, shake off the excess, dip into the egg mixture, then press it into the panko until fully covered. Repeat with all the chicken.
- Arrange and oil:
- Lay the coated strips on your prepared baking sheet without overlapping. Drizzle or spray them lightly with olive oil to encourage browning.
- Bake and flip:
- Bake for 18 to 22 minutes, flipping halfway through, until they're golden and the internal temperature hits 74°C (165°F). The flip ensures even crispiness on both sides.
- Rest before serving:
- Let them cool for 2 to 3 minutes on the pan. This brief rest lets the coating set and stay crunchy when you bite in.
 Pin
Pin The first time I served these, my son dipped one in honey mustard and declared it better than any fast food he'd ever had. That was the moment I realized homemade doesn't have to mean complicated or fancy, it just has to taste right.
Serving Suggestions
These strips are perfect with classic dipping sauces like honey mustard, ranch, or a spicy sriracha mayo. I've also served them over a simple green salad with a lemon vinaigrette, and they turned it into a full meal. For a casual dinner, pair them with roasted sweet potato wedges or a pile of crispy fries.
Make It Your Own
If you want to go gluten-free, swap in gluten-free panko and flour without changing anything else. For extra richness, toss a handful of grated Parmesan into the panko mixture before coating. You can also play with the spice level by adding more cayenne or a dash of hot sauce to the egg mixture.
Storage and Reheating
Leftovers keep in the fridge for up to three days in an airtight container. To bring back the crunch, reheat them in a 200°C (400°F) oven for about 8 minutes instead of using the microwave. They also freeze well for up to a month, just thaw in the fridge overnight and reheat as usual.
- Store cooled strips in a single layer to prevent sogginess
- Freeze uncooked breaded strips on a tray, then transfer to a bag once solid
- Always reheat in the oven or air fryer to keep the coating crispy
 Pin
Pin There's something deeply satisfying about pulling a tray of golden, crispy chicken out of your own oven. I hope these become a staple in your kitchen the way they have in mine.
Recipe Questions
- → How do I keep the panko coating crispy?
The key to crispy panko is using a wire rack on your baking sheet to allow air circulation underneath. Drizzle or spray the coated chicken lightly with olive oil before baking, and let it cool for 2-3 minutes after baking to allow the coating to set properly.
- → Can I make this dairy-free?
Yes, this dish is naturally adaptable for dairy-free diets. Replace the mayonnaise with Greek yogurt or additional egg wash. Use dairy-free mayonnaise if serving with dipping sauces. The panko breadcrumbs and all seasonings are typically dairy-free by default.
- → What's the best way to check if the chicken is cooked through?
Use an instant-read meat thermometer to check that the internal temperature reaches 74°C (165°F) at the thickest part of the chicken. Alternatively, cut into the thickest piece—the juices should run clear with no pink.
- → Can I prepare these ahead of time?
Yes, you can bread the chicken strips up to 4 hours in advance and refrigerate them on a baking sheet. Bake directly from the refrigerator, adding 2-3 minutes to the cooking time. You can also freeze breaded strips for up to 3 months and bake from frozen.
- → How do I make this gluten-free?
Simply substitute the all-purpose flour with gluten-free flour blend and use gluten-free panko breadcrumbs. Check your mayonnaise or yogurt labels for any hidden gluten. The rest of the ingredients are naturally gluten-free.
- → What dipping sauces pair well with these strips?
Try honey mustard, ranch dressing, spicy sriracha mayo, or buffalo sauce for dipping. Greek yogurt mixed with garlic and herbs also makes an excellent lighter option. The herbed coating complements both tangy and creamy dips.