 Pin
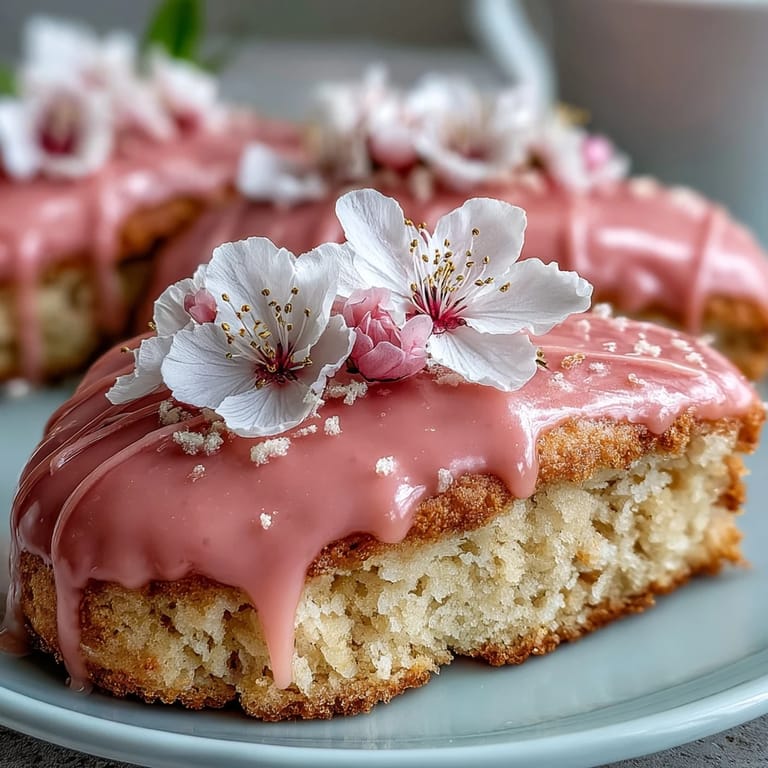
Pin My kitchen smells like butter and vanilla the moment I crack open the oven door, and somehow it's always Easter week when I remember these cookies exist. There's something about pastel-colored icing that makes me want to bake, even if I'm not particularly religious—it's just the colors, really, soft pinks and yellows that feel like spring finally showed up. My neighbor's daughter once asked why cookies needed to be decorated if they already tasted good, and I realized I'd never had a real answer except that it makes people smile when they see them. These sugar cookies are the kind you make on a Saturday afternoon when you have nowhere to be, the kind that fills your house with that warm, buttery smell that makes everyone pause.
I made these for my office one April, and someone actually cried because they reminded her of her grandmother's kitchen. That's when I understood these weren't just cookies—they were the kind of thing people hold onto in memory, the taste of someone caring enough to spend an afternoon piping icing onto little bunny-shaped dough. Since then, I've made them for baby showers, Easter brunches, and once just because it was Tuesday and I needed something good in my life.
Ingredients
- All-purpose flour (2 1/2 cups): Use the spoon-and-level method or weigh it—too much flour and your cookies become dense and chalky, which I learned the hard way my first attempt.
- Baking powder (1/2 teaspoon): Just enough to give the cookies a subtle lift without making them cake-like.
- Salt (1/4 teaspoon): Never skip this; it brings out the vanilla and makes the butter flavor sing.
- Unsalted butter (3/4 cup, softened): Room temperature butter is non-negotiable—cold butter won't cream properly and your dough will be tough.
- Granulated sugar (1 cup): This creates the tender crumb; don't substitute brown sugar here.
- Egg (1 large): Brings richness and helps bind the dough together.
- Pure vanilla extract (2 teaspoons): Use real vanilla, not imitation—the flavor difference matters when everything else is this simple.
- Milk (1 tablespoon): Just a touch to help bring the dough together without overworking it.
- Powdered sugar (3 cups, sifted): Sifting prevents lumps in your icing, which saves you from piping frustration later.
- Meringue powder (2 tablespoons): This stabilizes the icing so it sets properly and holds its shape on your cookies.
- Warm water (5-6 tablespoons): Add gradually; you're looking for thick peaks that hold their shape when you lift the beater.
- Gel food coloring in pastel shades: Gel colors don't add water like liquid food coloring does, so your icing stays the right consistency.
Tired of Takeout? 🥡
Get 10 meals you can make faster than delivery arrives. Seriously.
One email. No spam. Unsubscribe anytime.
Instructions
- Combine your dry ingredients:
- In a medium bowl, whisk together the flour, baking powder, and salt. This distributes the leavening evenly so your cookies bake consistently. Set it aside and forget about it for now.
- Cream the butter and sugar:
- Using an electric mixer, beat the softened butter and granulated sugar together for about 2 to 3 minutes until the mixture looks pale and fluffy. You'll notice the color actually changes—that's when you know you've incorporated enough air.
- Add the egg and vanilla:
- Pour in your egg and vanilla extract, mixing until the whole thing looks smooth and combined. The batter might look slightly curdled at first, but keep mixing; it'll come together.
- Bring the dough together gently:
- On low speed, gradually add your dry ingredients to the wet ones, stirring just until you don't see flour streaks anymore. Add the milk last, and stop mixing the moment everything comes together—overmixing toughens the cookies.
- Chill the dough:
- Divide your dough in half, flatten each piece into a disc, wrap in plastic wrap, and refrigerate for at least an hour. I've left mine overnight, and honestly, it's fine—cold dough is easier to work with.
- Heat your oven and prepare:
- Preheat to 350°F (175°C) and line your baking sheets with parchment paper. This prevents sticking and gives you an easier cleanup afterward.
- Roll and cut:
- On a lightly floured surface, roll your chilled dough to about 1/4-inch thickness. Cut into Easter shapes—eggs, bunnies, chicks, whatever makes you happy. The dough should be cold enough that it doesn't stick to your cutters.
- Space and bake:
- Place cookies on your prepared sheets about an inch apart—they spread slightly but not dramatically. Bake for 8 to 10 minutes, until the edges just barely turn golden; the centers should still look almost undone.
- Cool properly:
- Let the cookies sit on the baking sheet for 5 minutes to set, then transfer them to wire racks to cool completely. This prevents them from breaking and lets them firm up properly.
- Make your royal icing:
- In a large bowl, combine sifted powdered sugar and meringue powder. Add water gradually, beating on low speed until smooth, then increase to high for 3 to 4 minutes until stiff peaks form—you're looking for icing that holds its shape when you lift the beater.
- Color your icing:
- Divide the white icing among several small bowls and add pastel gel food coloring one tiny drop at a time, stirring gently until you reach the shade you want. Pastel colors need patience; it's easy to overshoot and end up with something too bright.
- Decorate with intention:
- Transfer your colored icings to piping bags or squeeze bottles. Decorate your cooled cookies however you like—outlines, dots, stripes, or flooded sections. Let the icing set completely before serving, which takes about 2 to 3 hours depending on humidity.
 Pin
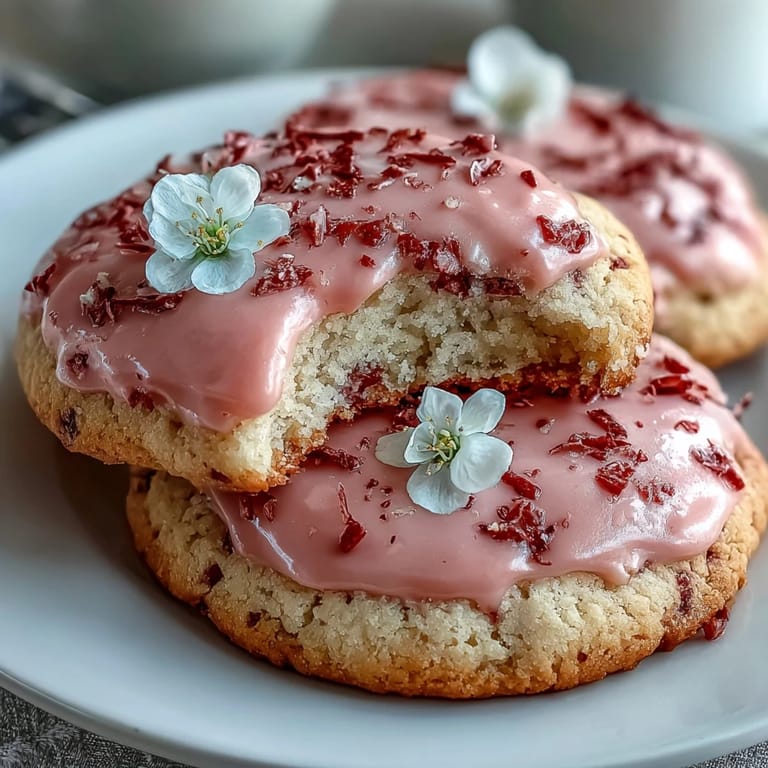
Pin I brought these to a cookie exchange once where someone's contributions were store-bought, and I felt oddly smug about my little pastel bunnies until I realized the whole point was supposed to be fun, not competition. Now I make them because they taste better than anything I could buy, and because watching someone's face when they bite into a tender cookie with homemade icing is worth every minute of the decorating time.
The Science of Tender Cookies
The reason these cookies stay soft has everything to do with not overdoing it at any stage. The gentle mixing keeps the gluten relaxed, the proper chilling prevents spreading, and the careful baking stops right when the edges turn golden but the centers are still slightly undone. I've learned that temperature matters more than I ever thought—even taking the dough out of the fridge just five minutes before rolling can change how the cookies bake.
Decorating Without Perfectionism
Here's what I've realized after decorating hundreds of these cookies: imperfection is the entire point. A wobbly line reads as handmade and charming, not sloppy. A blob of icing in the wrong spot becomes a design choice. I used to stress about making mine look like the ones on Pinterest until I realized no one eating these cookies cares about precision—they just want something beautiful and delicious. The pastel colors help because they make everything look intentional and soft, even when your piping is shaky from holding the bag too tight.
Storage and Serving
Once the icing sets completely, store these cookies in an airtight container at room temperature for up to a week. They actually get better on day two as the flavors settle into each other. These pair beautifully with Earl Grey tea, hot chocolate, or just a quiet moment when you need something that tastes like care.
- Keep the container away from humidity or they'll soften more than intended.
- Layer them between parchment paper so the icing doesn't stick to the next cookie.
- If you're gifting them, a pretty tin lined with tissue paper makes people feel special before they even taste them.
 Pin
Pin These cookies are the reason I believe in making things from scratch, even when it takes most of an afternoon. They're simple enough that anyone can do it, but thoughtful enough that people remember them.
Recipe Questions
- → How do I achieve soft cookies?
Ensure not to over-bake them by removing the cookies once edges start turning golden. Chilling the dough helps maintain tenderness during baking.
- → What’s the best way to get smooth pastel icing?
Beat powdered sugar and meringue powder with water until stiff peaks form, then divide and tint with gel food colors for vibrant pastel shades.
- → Can I customize the cookie flavors?
Yes, adding lemon or almond extract to the dough provides a nice variation to the buttery base.
- → How should I store these decorated cookies?
Keep them in an airtight container for up to one week to preserve freshness and icing integrity.
- → What tools are recommended for decorating?
Use piping bags or squeeze bottles to apply the royal icing precisely over cooled cookies.