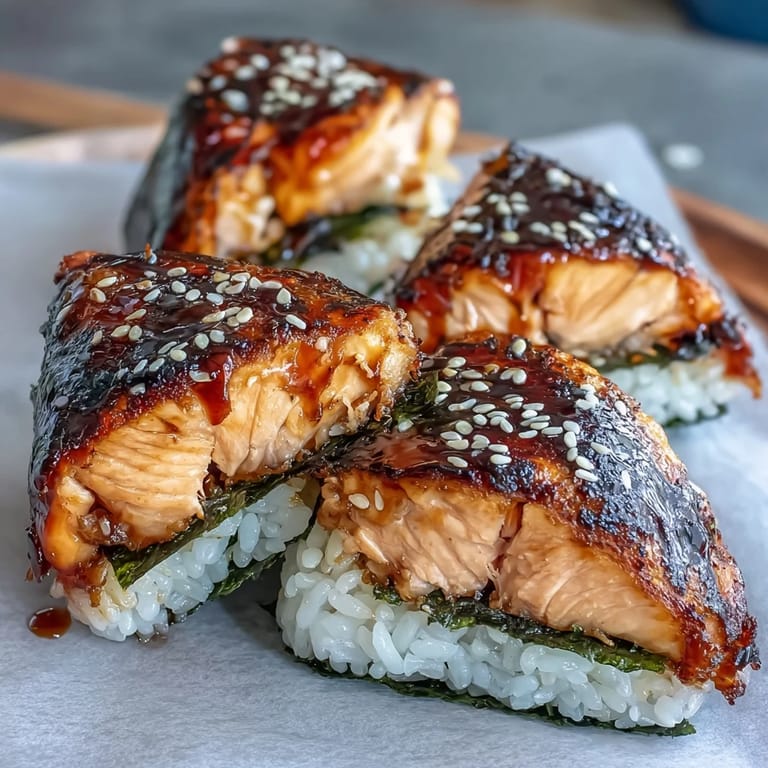
 Pin
Pin The gentle hiss of salmon hitting a hot grill always reminds me of winding down after a long week: crisp rice, savory fish, and the familiar routine of shaping onigiri at my kitchen counter. My first try was far from neat—sticky rice clinging to every finger, salmon flakes tumbling out before I could mold even one decent triangle. But once I nailed the rhythm, these golden, hand-held bites became my go-to answer for a pick-me-up lunch or a picnic surprise. There's something brilliant about how the nori softens from the warm rice, carrying the fragrance of toasted sesame and sea air. Sometimes, I hear the faint snap as each onigiri browns in the skillet, promising a snack that's equal parts comfort and adventure.
One rainy Sunday, I set out a lineup of warm onigiri for friends fresh from a misty hike; napkins in hand, everyone hovered in the kitchen, snatching them off the counter before I could even plate them. The laughter grew so loud, I almost forgot the drizzle outside as sesame seeds scattered over our sleeves.
Ingredients
- Skinless salmon fillet: Choosing the freshest cut you can find transforms the filling, and grilling gives an irresistible smokiness—broiling works if you’re short on time.
- Soy sauce: A quick brush infuses umami into the fish; I use low-sodium to keep it balanced.
- Mirin: Just a splash adds a hint of gentle sweetness without overpowering the salmon.
- Toasted sesame oil: The aroma alone is enough to make you hungry; a little goes a long way.
- Japanese short-grain rice: This staple brings the perfect sticky texture for shaping—long grain rice just won’t cut it here.
- Rice vinegar (optional): Just a tablespoon brightens the rice and keeps it subtly seasoned.
- Nori (seaweed): I halve the sheets for better wrapping; leave it off if you want a crisper onigiri.
- Toasted white sesame seeds (optional): A gentle sprinkle delivers both visual and nutty excitement.
- Salt and black pepper: Essential for seasoning both the fish and your hands—don’t skip this step.
- Water (for shaping): Dipping your hands keeps rice from sticking and makes perfect triangles much simpler.
Tired of Takeout? 🥡
Get 10 meals you can make faster than delivery arrives. Seriously.
One email. No spam. Unsubscribe anytime.
Instructions
- Steam the Rice:
- Rinse the rice under cold water until it runs clear, then cook with measured water until tender and sticky. Let it rest covered before seasoning gently with salt and vinegar.
- Grill the Salmon:
- While the rice cooks, brush salmon with soy, mirin, sesame oil, salt, and pepper, then grill or bake until delicately caramelized and just cooked through. Flake it with a fork and let cool, inhaling the savory aroma.
- Shape with Care:
- Moisten your hands in water, coat them lightly with salt, and press a scoop of warm sticky rice into a flat round. Spoon salmon into the center and gently shape the rice around to form tidy triangles, pressing just enough so they hold but aren’t dense.
- Crisp in the Pan:
- Heat a slick of oil in a nonstick skillet, lay in the onigiri, and listen for the gentle sizzle; flip after a few minutes for golden, crisp exteriors. Optionally, brush with soy sauce during the last flip for a glossy, flavorful finish.
- Wrap and Enjoy:
- Slide a strip of nori around each warm onigiri, sprinkle with sesame seeds, and serve while still fragrant—perfect in a lunchbox or as a snack on-the-go.
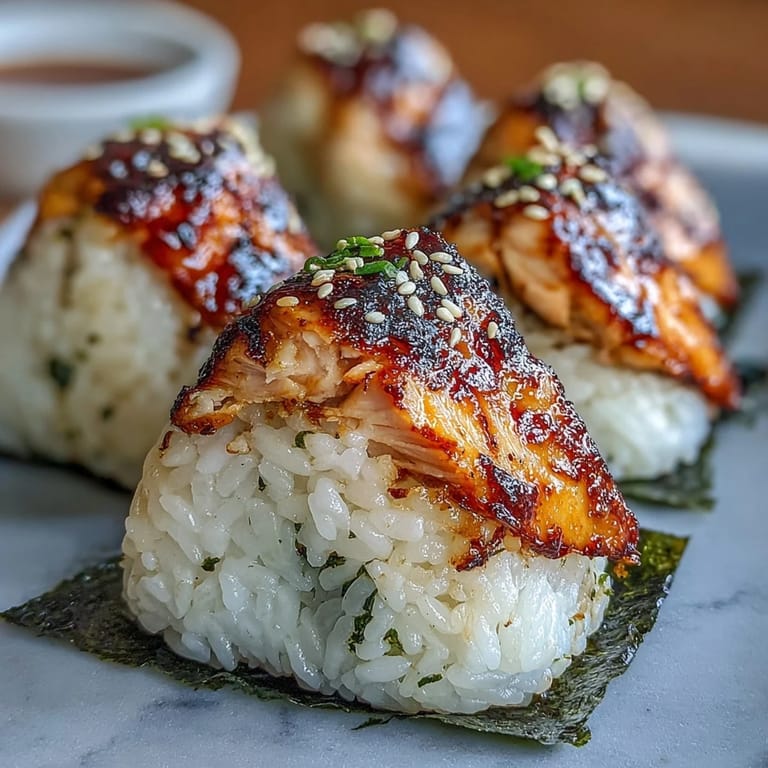 Pin
Pin It was at a casual potluck that I realized these weren’t just snacks—the last onigiri vanished during a deep conversation, leaving a friend to jokingly scrape sesame seeds off the platter as if they were gold.
Salmon Swaps and Flavor Twists
I’ve played with adding wasabi, swapping in canned salmon, or even tucking a slice of pickled plum inside for extra zing. Every little experiment makes these onigiri feel new, and sometimes, the odd combo becomes a hit at my table.
Getting the Perfect Shape
The triangle isn’t just for looks—it keeps the filling snug and fits nicely in the palm. Wet hands are a must, and I learned quickly that patience and a light hand make prettier, less sticky onigiri every time.
Picnic-Worthy and Make-Ahead Ideas
Onigiri taste just as good room temp, making them first-choice for picnics or busy days. I wrap them in parchment if they’re headed to a lunchbox to keep the nori from getting soggy.
- Bring a little salt water if you plan to shape them in the park.
- Keep the nori and rice separate until ready to eat for the best texture.
- Don’t forget a thermos of green tea for the full experience.
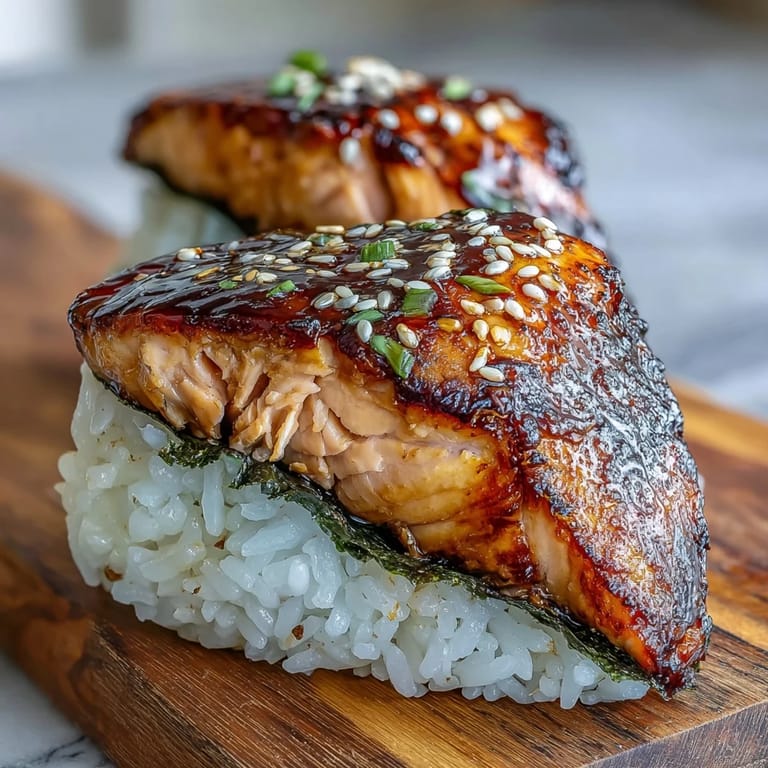 Pin
Pin Grilled salmon onigiri turns even the simplest moment into something quietly special. Share them warm and watch them disappear faster than you think.
Recipe Questions
- → What rice is best for onigiri?
Use Japanese short-grain rice for its sticky texture; it holds together when shaped and crisps nicely when pan-grilled.
- → How do I prevent onigiri from falling apart?
Work with warm rice and slightly wet hands, press firmly but gently, and use a small pinch of salt on your palms to bind the grains.
- → Can I use canned salmon instead of fresh?
Yes—drain and flake canned salmon, then season with a touch of soy and mirin. Fresh yields better texture, but canned is a convenient swap.
- → How should I store leftover onigiri?
Store cooled onigiri in an airtight container in the fridge for up to 24 hours. Reheat briefly in a dry skillet to restore crispness before serving.
- → Any tips for grilling without a grill pan?
Use a nonstick skillet lightly oiled over medium heat; press the onigiri gently and cook 2–3 minutes per side until golden and crisp.
- → What are good accompaniments?
Pair with green tea, miso soup, pickled vegetables, or a small side salad for a balanced light meal or picnic packing.