 Pin
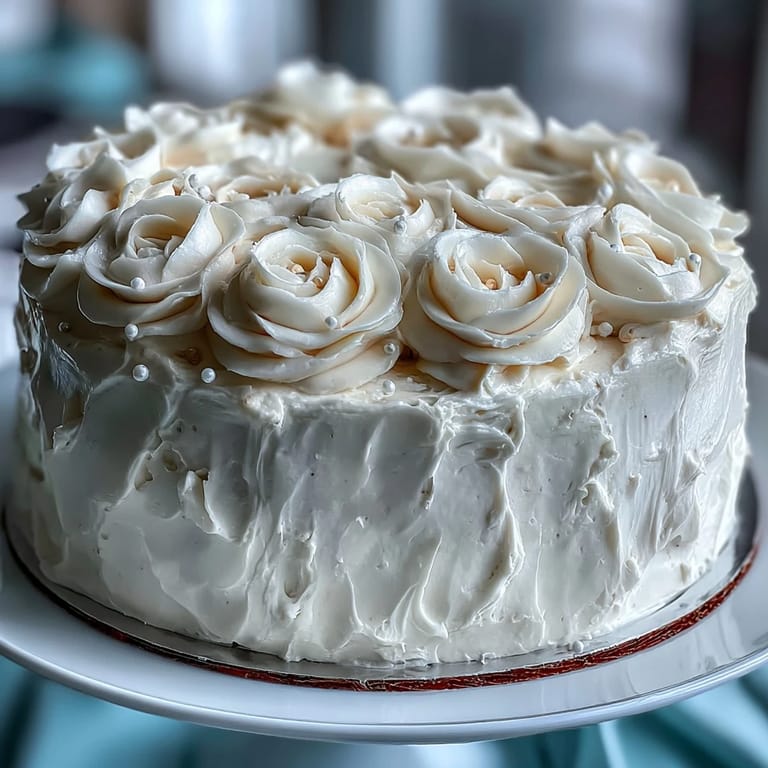
Pin There's something about baking a First Communion cake that shifts the whole kitchen into reverent mode. My hands were shaking slightly as I creamed the butter and sugar together, knowing this vanilla sponge would be the foundation for something that mattered beyond just dessert. The recipe itself isn't complicated, but the intention behind it changes everything. You're not just making a cake; you're marking a moment someone will remember forever.
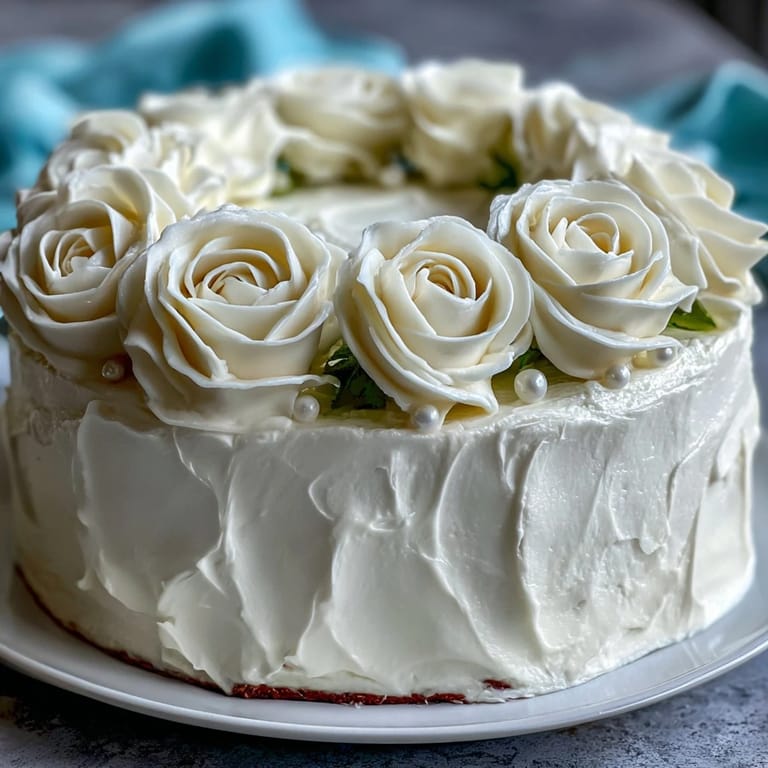
I made this cake for my cousin's daughter on a Saturday morning when the house was still quiet. She'd chosen white roses because she thought they looked "like angels," and by the time I pressed that cross topper into the fondant, I understood why this celebration felt sacred to the people gathered around the table. Watching her face when she saw it made every careful fondant petal worth the effort.
Ingredients
- All-purpose flour (2 ½ cups): The backbone of your sponge—sifting it with the baking powder prevents dense pockets and ensures an even crumb throughout.
- Unsalted butter (1 cup for sponge, 1 ½ cups for frosting): Room temperature is non-negotiable; cold butter won't cream properly and you'll end up with a gritty texture instead of that cloud-like lightness.
- Granulated sugar (2 cups): This creams with the butter to create tiny air pockets that make the cake rise and stay tender—don't skimp on the creaming time.
- Eggs (4 large): Room temperature eggs incorporate more smoothly, which means better emulsification and a more stable batter overall.
- Pure vanilla extract (1 tbsp plus 2 tsp): Use real vanilla, not the imitation stuff; it adds warmth and depth that cheap extract simply cannot replicate.
- Whole milk (1 cup): Also room temperature—it helps keep the batter from breaking when you're alternating wet and dry ingredients.
- Powdered sugar (5 cups for frosting): Sift it before measuring to avoid lumpy buttercream that looks grainy no matter how long you beat it.
- White fondant (16 oz): Quality matters here because cheaper fondant cracks easily and tastes waxy; invest in a brand you can trust.
- Edible pearls or silver dragées (optional): These tiny accents catch light and add a touch of elegance without overwhelming the delicate aesthetic.
Tired of Takeout? 🥡
Get 10 meals you can make faster than delivery arrives. Seriously.
One email. No spam. Unsubscribe anytime.
Instructions
- Prepare your stage:
- Preheat the oven to 350°F and grease both cake pans generously before lining the bottoms with parchment paper. This double protection prevents sticking and gives you confidence that your layers will release cleanly.
- Dry ingredients meet:
- Whisk together the flour, baking powder, and salt in a medium bowl, creating a uniform mixture that distributes the leavening evenly throughout. Set it aside and take a breath—this is where precision starts mattering.
- The magic starts here:
- Cream the softened butter and sugar together for a full three minutes until the mixture looks pale, fluffy, and almost mousse-like. You'll hear the mixer really working, and you'll see the volume increase noticeably; this is the air incorporation that makes your cake tender.
- Eggs in, one at a time:
- Add each egg individually, beating well after each addition before you add the next one. This prevents the batter from looking curdled and broken, which can happen if you dump all the eggs in at once.
- Vanilla whisper:
- Mix in the vanilla extract until you catch that first whiff of warmth rising from the bowl. The scent will deepen as the cake bakes, becoming more complex and less sharp.
- The alternation dance:
- Switch your mixer to low speed and alternate adding the flour mixture and milk, starting and ending with flour—this rhythm prevents gluten overdevelopment and keeps the crumb tender. Three additions of flour, two of milk, is the gentle pattern that works every time.
- Divide and smooth:
- Pour the batter evenly into both prepared pans and use an offset spatula to smooth the tops so they bake evenly. Uneven tops lead to domed cakes that need extra leveling later.
- Bake and listen:
- Slide the pans into the oven for 30 to 35 minutes, and when a toothpick inserted into the center comes out clean (with maybe a crumb or two), they're done. Don't overbake; every extra minute dries out the cake slightly.
- Cool with patience:
- Let the cakes rest in their pans for exactly 10 minutes before turning them out onto wire racks to cool completely. Turning them out too early breaks them, but waiting too long traps steam that creates a gummy layer.
- Buttercream begins:
- Beat the softened butter alone until it's pale and creamy, about a minute, then gradually add the sifted powdered sugar a handful at a time. Rush this and you'll create a grainy, dense frosting instead of something silky.
- Milk adjustment:
- Add milk or heavy cream one tablespoon at a time until you reach the perfect spreading consistency—you want it to hold its shape but not be so stiff that you're struggling to smooth it. This is where you trust your instincts rather than the recipe.
- Crumb coat commitment:
- Level the cake layers if they domed, place one on your cake board, and spread a thin first layer of buttercream on top. Pop the whole thing in the fridge for 20 minutes; this seals in crumbs so your final coat looks flawless.
- Final frosting:
- Apply a generous, smooth final layer of buttercream, using an offset spatula dipped in warm water for that polished finish. You're creating the canvas for your fondant roses.
- Fondant roses unfold:
- Roll out the white fondant to 1/8-inch thickness and create small balls, flatten them into petals, then layer and roll them into rose shapes. This takes patience but creates something that looks like it came from a professional baker.
- Tint and shape leaves:
- If you want leaves, knead a tiny amount of green gel coloring into a small ball of fondant until it's evenly tinted, then shape and indent them with a knife. The gel color creates a sophisticated pale green rather than the garish color of liquid dyes.
- Arrangement and grace:
- Gently press the fondant roses and leaves onto the frosted cake in whatever pattern feels right to you. There's no wrong way to arrange them; trust your eye and what feels balanced to you in the moment.
- Pearls and accents:
- Scatter edible pearls or dragées around the roses if you're using them, letting them catch the light and add dimension. These tiny touches elevate the whole presentation without looking overdone.
- Cross placement:
- Center the cross topper at the top of the cake or position it slightly off-center for a softer, less formal look. This is the piece that announces what the cake celebrates.
- Final chill:
- Refrigerate the finished cake until serving time so the fondant sets fully and the frosting firms up slightly. A chilled cake also slices cleaner and more elegantly.
 Pin
Pin Later that evening, as people were leaving, the birthday girl's grandmother pulled me aside and told me that she'd saved a piece of cake in a box, wanting to keep it as a memory of the day. I realized then that a cake made with this much care becomes something people hold onto differently—not just something they eat, but something they remember.
The Sponge Matters More Than You Think
A First Communion cake lives on a table sometimes for hours before it's cut, passed around for photos, and celebrated. That means your vanilla sponge needs to be sturdy enough to support fondant and frosting, yet tender enough that every bite melts on the tongue. Overbaking by even five minutes creates a cake that feels dry and demands a glass of milk with every forkful. The vanilla itself should taste like vanilla, not like a chemical sweetness—this is where using real extract earns its cost.
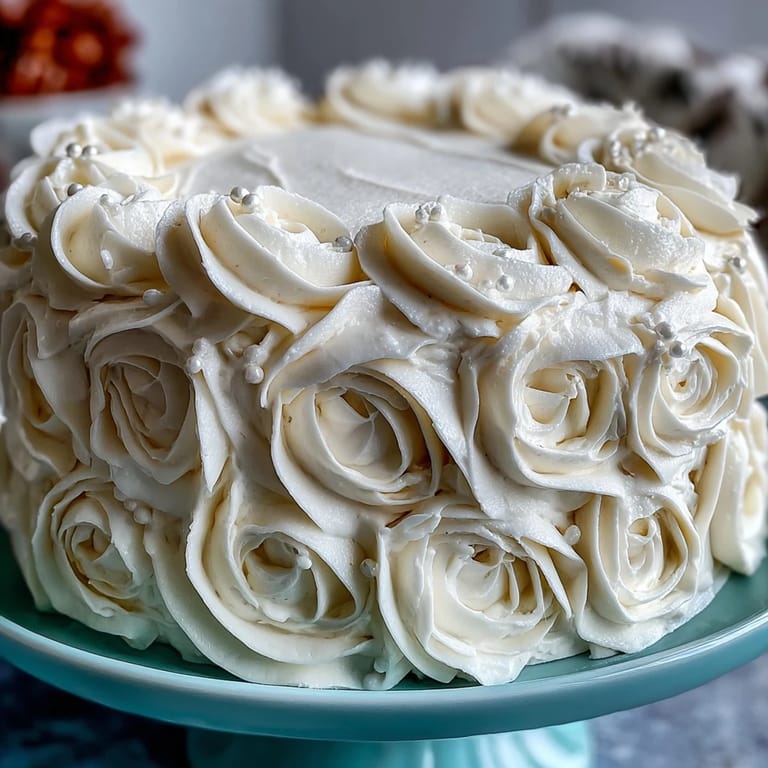
Making Fondant Roses Look Effortless
The first time I made fondant roses, I thought they looked lumpy and sad compared to photos on the internet. What changed wasn't my technique but my understanding that perfect symmetry isn't the goal—organic, slightly imperfect roses actually look more real and charming. Dust your work surface with a tiny amount of cornstarch instead of powdered sugar, which can leave white streaks, and let your fingers do the shaping slowly, warming the fondant as you work it.
Timing and Celebration
This cake can be made almost entirely the day before if you're feeling the pressure of celebration morning. Bake the layers, make the frosting, and do the crumb coat the afternoon before, then finish decorating the next day when you're calmer and have better lighting.
- Room temperature ingredients are not optional—they genuinely make a measurable difference in how smoothly everything incorporates.
- Keep a damp cloth nearby while working with fondant so you can wipe sticky fingers and prevent fondant shreds from building up.
- Let the finished cake sit at room temperature for about thirty minutes before serving so the frosting softens just enough to cut through cleanly without crumbling.
 Pin
Pin Baking a First Communion cake means you're part of something sacred, whether you're religious or not. The care you take, the attention to detail, and the way you show up for someone else's milestone—that's what transforms buttercream and fondant into meaning.
Recipe Questions
- → How do I make the vanilla sponge tender?
Creaming butter and sugar until fluffy incorporates air for a light texture. Alternating dry ingredients and milk helps maintain moisture without overmixing.
- → What is the best way to shape the fondant roses?
Roll small fondant balls, flatten and shape into petals, then assemble by layering petals around a center to form roses.
- → How can I prevent the buttercream from being too soft?
Chill the cake between crumb coat and final frosting applications to allow the buttercream to set firmly.
- → Can I add additional flavors to the sponge?
Yes, adding lemon zest or almond extract enhances depth without overpowering the vanilla base.
- → What alternatives are there for decorating leaves?
Use tinted green fondant or gel coloring to craft leaves, adding realistic detail alongside the white roses.