 Pin
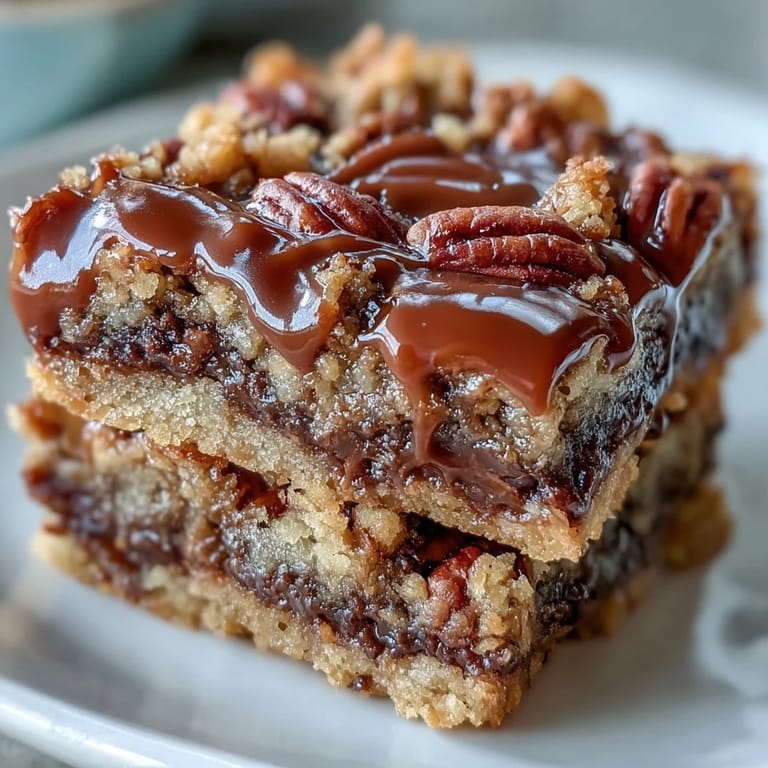
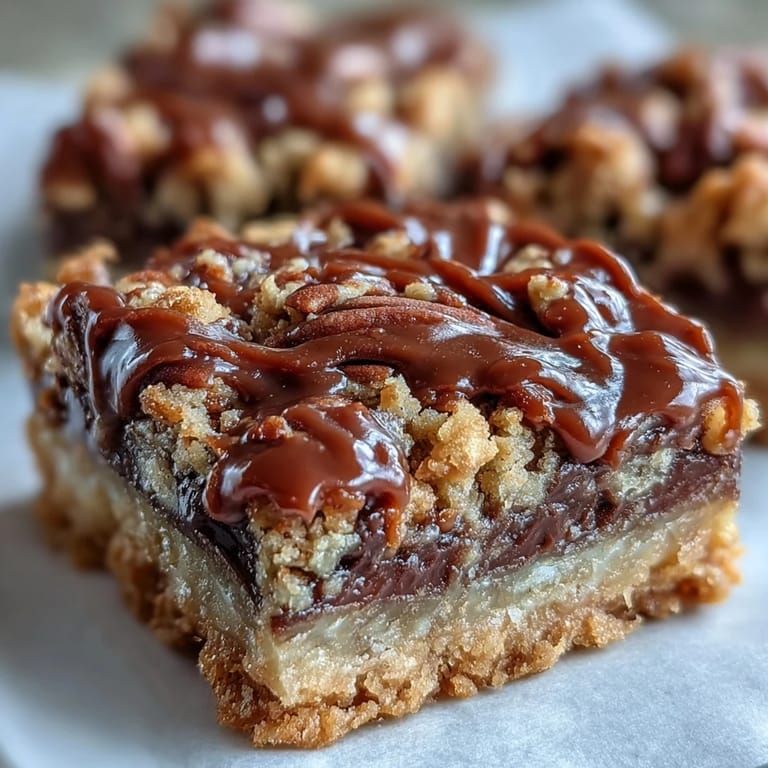
Pin My grandmother kept a glass jar of homemade caramels on her counter year-round, and I'd pilfer one every time I visited. The way they'd slowly melt on my tongue, sticking to my teeth in the most stubborn way, became the standard against which I judged every caramel anything. These turtle bars capture that same indulgent memory but with the added comfort of an oatmeal cookie base that feels like home.
I first made these for a cookie exchange last December, watching six grown women practically hover over the platter while they cooled. The smell of toasted pecans mingling with buttery oats filled the entire kitchen, and I swear my neighbor knocked on the door just to investigate what was happening in my oven. They're the kind of dessert that makes people pause mid-conversation and ask for the recipe immediately.
Ingredients
- 1 cup all-purpose flour: The structural foundation that holds these indulgent layers together without becoming tough
- 1 cup rolled oats: Use old-fashioned oats rather than instant for better texture and that satisfying chew
- 1/2 cup packed brown sugar: This adds moisture and that deep molasses flavor that pairs perfectly with caramel
- 1/2 cup granulated sugar: Provides the crisp edge on the crumb topping while balancing the brown sugars intensity
- 1/2 cup unsalted butter, melted: Let it cool slightly before mixing so it doesnt cook the oats or make the dough gummy
- 1/4 teaspoon salt: Just enough to enhance the chocolates bitterness without making these taste like a pretzel
- 1/2 teaspoon baking soda: Helps the crumb topping puff slightly into those irresistible golden peaks
- 1 cup semi-sweet chocolate chips: These melt into the caramel creating those signature turtle candy puddles
- 1 cup chopped pecans: Toast them lightly beforehand if you want an even deeper nutty flavor throughout
- 1 cup caramel sauce: Homemade caramel will give you the best texture but a good quality jarred sauce works perfectly
- 1/4 cup heavy cream: This thins the caramel just enough so it spreads smoothly without becoming too runny
Tired of Takeout? 🥡
Get 10 meals you can make faster than delivery arrives. Seriously.
One email. No spam. Unsubscribe anytime.
Instructions
- Prepare your space:
- Preheat your oven to 350°F and either butter a 9x9 inch pan thoroughly or line it with parchment paper leaving overhang for easy removal later.
- Mix the crumb base:
- Combine the flour, oats, both sugars, melted butter, salt, and baking soda in a large bowl, mixing until everything is coated and crumbly like damp sand.
- Reserve some topping:
- Measure out exactly one cup of this mixture and set it aside for the topping, then press the remaining crumbs firmly and evenly into your prepared pan.
- Par-bake the crust:
- Bake for 10 minutes until the edges start turning golden and the surface looks set, which will prevent a soggy bottom once we add the fillings.
- Warm the caramel:
- While the crust bakes, stir the caramel sauce and heavy cream in a small saucepan over medium-low heat until completely smooth and combined.
- Layer the fillings:
- Scatter the chocolate chips evenly over the warm crust, sprinkle the pecans across the top, then pour that silky caramel over everything.
- Add the topping:
- Sprinkle your reserved crumb mixture over the caramel layer, leaving some gaps so the golden bubbly parts show through as it bakes.
- Bake until golden:
- Return to the oven for 15 to 20 minutes until the topping is deeply golden and the caramel is bubbling up around the edges.
- The hard part:
- Cool completely in the pan on a wire rack, because cutting these while theyre warm will give you a gooey mess instead of neat squares.
 Pin
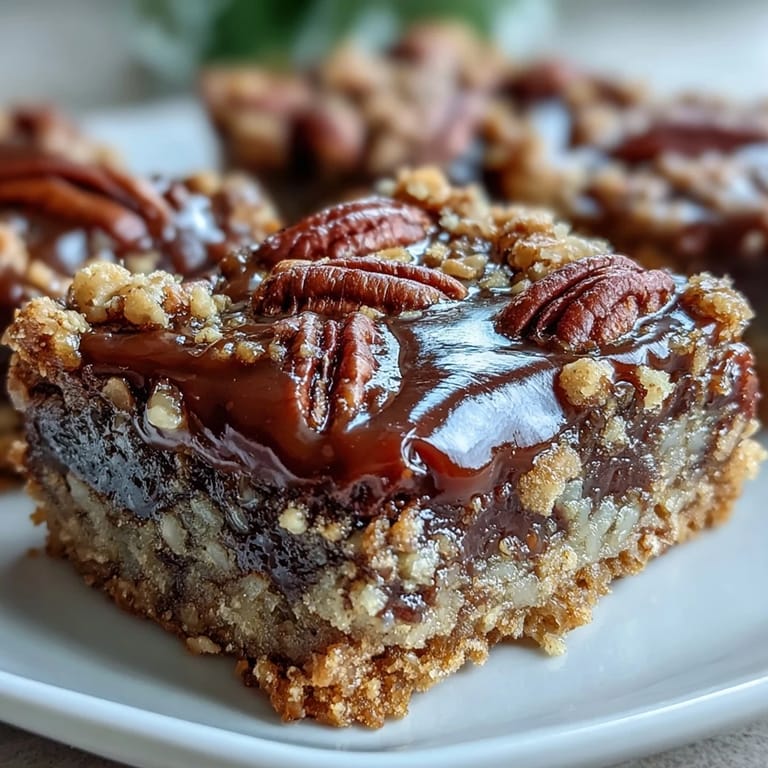
Pin These have become my go-to contribution to family gatherings, and theres something genuinely satisfying about watching people light up when they bite into that first layer of caramel. Last summer I brought a batch to a picnic and my aunt actually closed her eyes mid-bite, which feels like the highest compliment a dessert can receive.
Making These Ahead
The bars actually improve after a day in the refrigerator as the flavors meld together and the texture becomes even more fudgy. I often bake them on Sunday and keep them tucked away for surprise dessert emergencies throughout the week.
Customization Ideas
While pecans are traditional, walnuts add an earthier note that I've come to love during fall baking season. Sometimes I stir a teaspoon of flaky sea salt into the caramel mixture for that salted caramel effect that feels unexpectedly sophisticated.
Storage Secrets
These keep remarkably well in an airtight container at room temperature for up to a week, though the texture stays best if you separate layers with parchment paper.
- Freeze them individually wrapped on a baking sheet before transferring to a freezer bag for emergency dessert reserves
- A quick 15 second zap in the microwave brings back that just baked warmth if you prefer them gooey
- Room temperature is perfect for that chewy texture we're after here
 Pin
Pin There's something deeply comforting about having a pan of these waiting in the kitchen, ready to turn an ordinary afternoon into something worth savoring.
Recipe Questions
- → Can I use different nuts in these bars?
Absolutely! While pecans are traditional, you can easily substitute them with walnuts or almonds for a delicious variation.
- → How do I store these Turtle Bars?
These bars keep well when stored in an airtight container at room temperature for up to one week. For longer storage, they can be refrigerated.
- → What if my caramel is too thick?
If your caramel sauce is too thick, gently warm it with a little extra heavy cream or milk until it reaches a pourable consistency. Ensure it's not too hot when pouring over the chocolate.
- → Can I make these ahead of time for an event?
Yes, these are an excellent make-ahead dessert! Prepare them a day or two in advance, allowing them ample time to cool completely before cutting and storing.
- → How can I enhance the caramel flavor?
For a sophisticated twist, sprinkle a pinch of flaky sea salt over the caramel layer before adding the final crumb topping. This creates a wonderful salted caramel effect.
- → Is it important to cool the bars completely?
Yes, cooling them completely is crucial. This allows the caramel and chocolate to set properly, making them much easier to cut into clean, perfect squares. Rushing this step can result in messy bars.